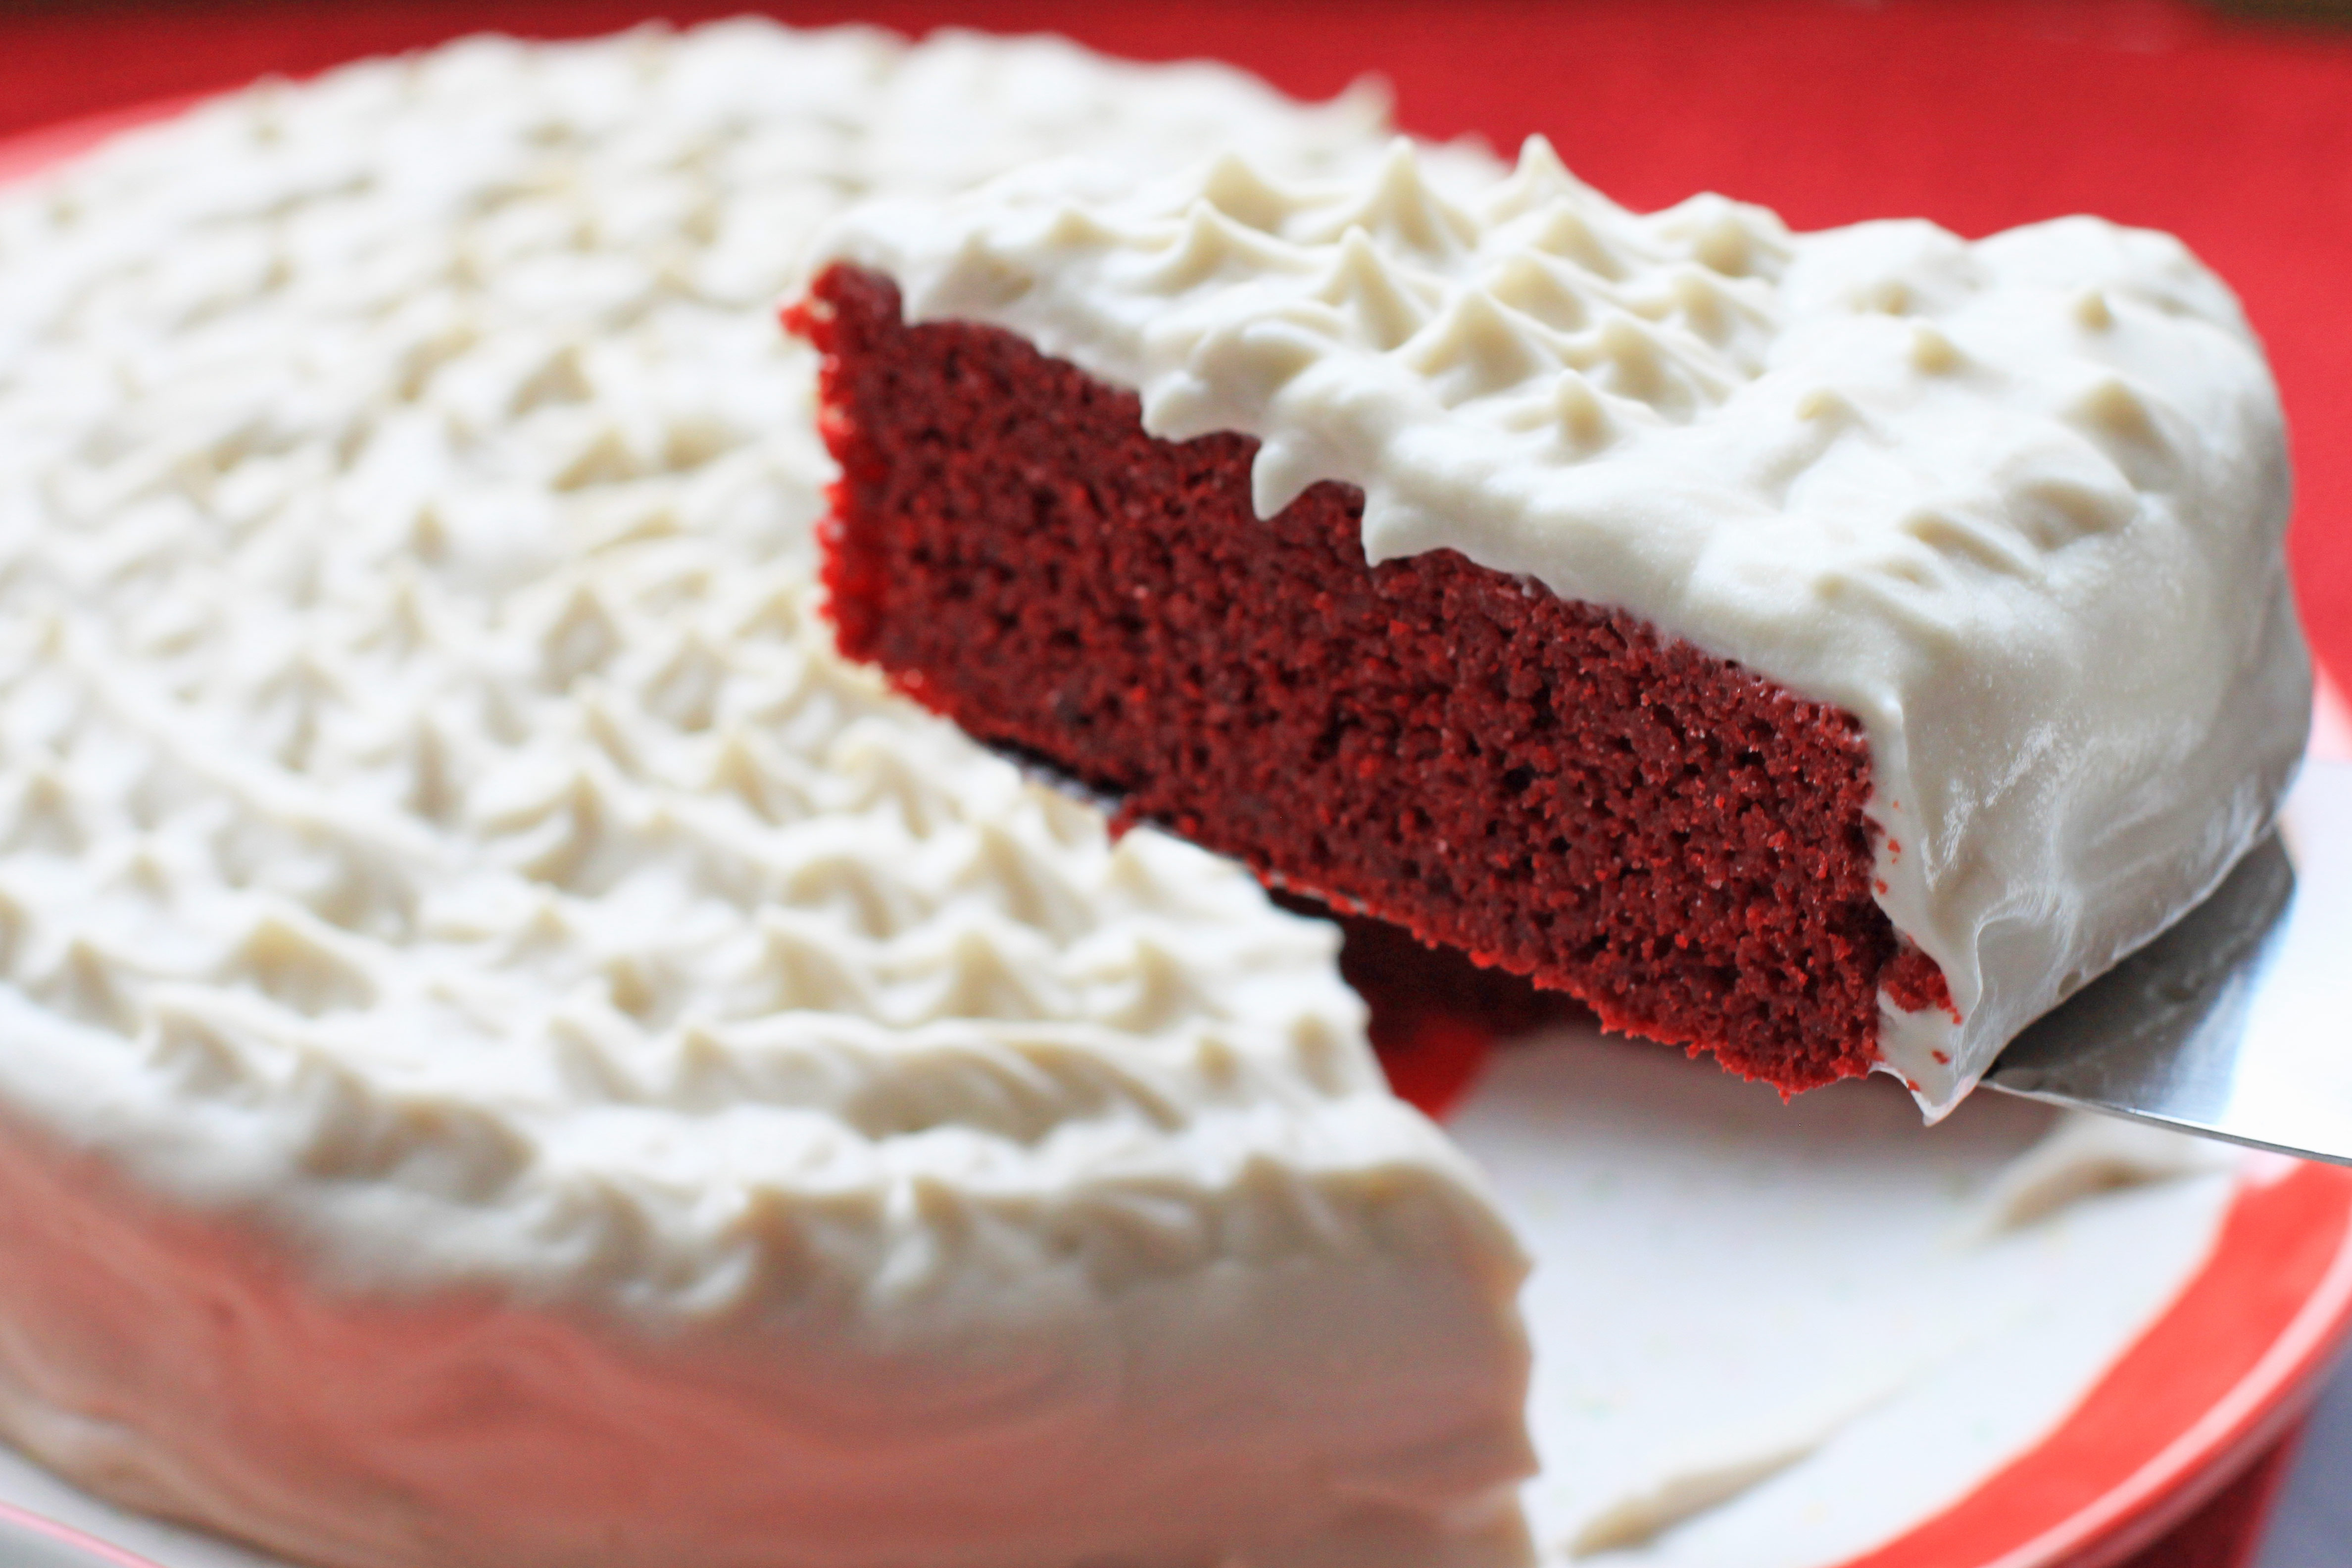
Paleo Red Velvet Cake
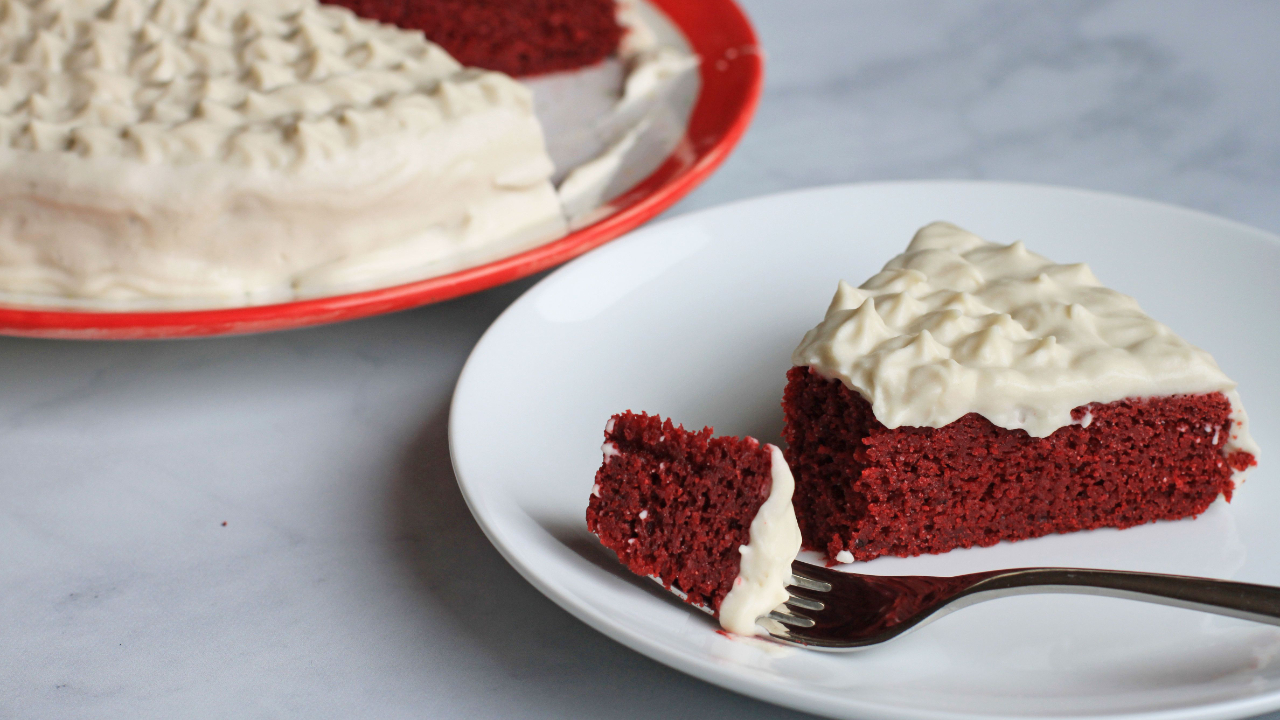
This Paleo Red Velvet Cake has a fluffy, tender crumb, a subtle hint of chocolate, and that signature tang, just like the original.
Unlike the original, this version happens to be gluten, grain, dairy, soy, and refined-sugar-free. A trio of flours, including almond, coconut, and tapioca, results in a cake that is airier than most nut-flour-based baked goods. It even has a little bit of spring to it– in other words, it bounces back when you press the top.
Like typical nut-based baked goods, this cake is a bit richer and denser than regular cake, so a single layer makes plenty for a small group. If you're feeding a crowd, you could easily double the recipe and make a 2-layer cake (or two single-layer cakes if you want to spread the love a little further).
For sweetener, bakers can choose between maple, coconut, or monk fruit sugar (take your pick), depending on your current needs. While maple sugar is my top pick for the best flavor, coconut sugar is easier to find. The monk fruit option, coming in at zero calories, knocks this cake into the low-carb category. I’ll compare these three options in more detail below.
After several experimental batches using beets and “natural” food dyes, I learned that a truly red Red Velvet Cake requires red food coloring. In the interest of transparency, I did use some for the cake in the photos.
If it weren’t for the photo shoot, I would skip the red food coloring in this recipe, and if you want this recipe to be 100% Paleo-compliant, you should. If you go the au naturale route, your cake will be delicious... and a perfectly pleasant shade of brown. Jut call it “Brown Velvet,” and enjoy!
Let's dig in on how to prepare this Paleo Red Velvet Cake.
Full disclosure: Some of the links in this post may be affiliate links. As an Amazon Associate, I earn from qualifying purchases. Purchasing a product using one of these links will support my work at no additional cost to you. Please know that I only recommend products I wholeheartedly stand by.

Chef’s Notes
This is not a quick and easy recipe, but it is a solid and well-tested one that’s worth the time and effort!
This recipe revamp was a request from one of my Thrivers’ Club Members. Linda P. sent me a pic of the original recipe for a traditional Red Velvet Cake with Ermine frosting, which has been in her family for years.
Her wish: A grain-free, soy-free, dairy-free, sugar-free equivalent that she could enjoy with her dietary restrictions.
Traditional Red Velvet Cake is known for its bright red hue, subtle cocoa flavor, and a hint of tartness. While Linda P’s ermine frosting is the traditional topping for Red Velvet, a tangier cream cheese version is more common these days.
I knew my readers would go bananas for something like this, so I accepted the challenge with a brave face. Inside, I was shaking in my chef clogs. See, baking is not my forte. Cooks and bakers are like two different species, and I’m the former. I relish in free-form creativity and improvisation. I buck against hard and fast rules and measurements. I like to be able to fix things with a dash of this, a dash of that, not have to throw them away and start over as you do with baking disasters. But it was time to add something new and showstopping to my catalog of Sweets Recipes, and Valentine’s Day was coming, so here we are.
I’ll skip to the happy ending: This Paleo Red Velvet Cake is BEYOND. I couldn’t be happier with the final result.
Here’s the backstory: This took a lot of testing.
I knew from my Paleo baking experience (which is grain, dairy, sugar, and soy-free, as Linda requested) that a Paleo Red Velvet Cake wouldn’t be exactly the same as traditional. Even the best Paleo baked goods require a slight adjustment in our expectations.
Why? Because there’s a lot of food science involved in baking. Traditional baking ingredients like wheat flour, butter, and sugar abide by a relatively predictable set of food chemistry laws. For example, sugar crystals whipped with butter help leaven a cake (make it rise) by creating tiny air pockets in the batter. Gluten strands develop by mixing wheat flour with liquid. When folded into cake batter, wheat flour produces short and tender gluten strands, resulting in a cake with a fluffy, tender crumb, and a springy top. In contrast, imagine the chewiness of a heavily kneaded loaf of artisanal bread, which produces longer, more elastic gluten strands, and a completely different texture than cake. Make sense?
Now, when it comes to Paleo baking, all of those traditional ingredients are out the window. Nut flours replace grain flours. Other, less “fluffable” fats replace butter. Natural sweeteners replace white sugar. Nut milk replaces cow’s milk...
With all of that comes a whole new and less well-known realm of food science. Results may vary.
Paleo baking is a less beaten path, but like many unbeaten paths, it holds exciting possibilities. Most of the time, it works pretty well and gives us a way to partake in pleasures like this cake without diving into a traditional slice full of ingredients that don’t work for our health needs.
My Mission: To create something for Linda P. that was very close to the original and would remind her, as a Thyroid Thriver, that even when you’re eating for your thyroid health, you can still find ways to enjoy those beloved family recipes without altogether abandoning the needs of your body.
I’ll spare you the recipe-testing saga and instead share my TOP 5 golden-nugget takeaways from my adventures in Red Velvet.

#1: A truly RED velvet cake requires red food coloring.
I'm not talking about the natural stuff. You can opt to omit the food coloring, and the cake will still be delicious, but it will be Brown Velvet Cake. I thought you should know…
Red food coloring became the fashion, thanks to the marketing efforts of the Adams Extract Company back in the 1940s. They published a recipe that went viral (for those times) using plenty of their red food coloring in order to boost sales.
Before that, Red Velvet Cake was colored with natural, non-alkalized cocoa powder, which gave it a reddish-brown hue. If you use a natural cocoa powder, you can increase your chances of ending up with a reddish-brown cake, but to call it “red” would be a stretch.
Today’s Red Velvet Cake typically uses a little bit of cocoa powder and buckets of red food coloring (okay, maybe not buckets, but 1 to 2 tablespoons, which is a lot of food coloring!) to give it that signature eye-popping flair.
Despite my earnest efforts, I was unable to find a natural option that rendered a red or even reddish-brown cake.
Friends, I tried everything. There are plenty of recipes on the internet boasting that their Paleo Red Velvet Cakes are colored with either beets or natural food dye, but in my kitchen, two tries with beets and two tries with natural food dyes ended in the same result: Brown Velvet Cake. Not red.
Each cake I made went in the oven a sassy shade of red. All of them came out of the oven brown… except the one with red food coloring.

- Using 1 cup beets >> Brown Velvet Cake
- Using ½ cup beets >> Brown Velvet Cake
- Using 1 tablespoon of natural food coloring >> Brown Velvet Cake
- Using 1 tablespoon of regular red food coloring >> Red Velvet Cake
In case you're wondering, the natural food colorings I tried (India Tree and Watkins) both looked ruby red going into the oven. Both came out of the oven brown despite using the entire bottle of each color. Why? Because heat can destroy those natural pigments, which is exactly what happened in my oven.
If you find a natural food coloring that holds up to baking, please let me know at [email protected]!
Supernatural brand food coloring is supposed to be heat-stable, but I haven’t tried it. I would love to be able to recommend a better alternative that works. For now, I can only offer you my best tips and realistic expectations. No judgment if you decide to use the regular red food coloring - it is part of what makes this dessert so beguiling after all.
#2: Don’t overdo it on the cocoa powder.
Cocoa is an essential ingredient in red velvet cake, but it’s not meant to be a “chocolate” cake. Just a tablespoon is plenty in this recipe. My first attempt used 1/3 cup of cocoa and a cup of beets. It produced a dense sort of beet brownie that was quite tasty but a far cry from red velvet cake. Into the freezer, it went for a rainy day.
Speaking of cocoa powder, I tried both natural cacao powder and unsweetened cocoa powder. Both worked well, but the mild flavor of the unsweetened cocoa powder, as opposed to the more robust cacao powder was the flavor winner for me.

#3: This flour-power-trio was the ultimate combo:
The ultimate flour trifecta for this Paleo Red Velvet Cake is a combination of fine almond flour, coconut flour, and tapioca starch. If you’ve been doing the Paleo baking thing for a while, you probably have all three on hand. If not, allow me to introduce you to each and explain what purpose they serve.
Fine almond flour is made from whole blanched almonds. It’s important to purchase fine almond flour as opposed to almond meal for a smoother, cakier texture. Almond flour is relatively neutral tasting aside from a mild almond flavor, but it does add a significant amount of fat to baked goods. This helps make baked goods ultra-moist, but almond flour baked goods can turn out “wet” or greasy if not balanced with other flours.
Coconut flour is made from dried coconut that is finely ground. It imparts a very slight coconut flavor and contains lots of fiber. Baked goods made with too much coconut flour can be gritty or grainy, especially at first. Time seems to help soften and moisten coconut flour, helping with any grittiness. Using a small amount of coconut flour in combination with almond flour is a solid success strategy. The coconut flour helps absorb some of the excess moisture from the almond flour and other wet ingredients in the recipe. Using just a little bit of coconut flour (vs. using it as the primary flour) helps avoid grittiness.
Tapioca flour (sometimes called tapioca starch) is a starchy powder extracted from cassava root by a process of washing and pulping. Tapioca starch is not the same as cassava flour, though both come from the same plant. Tapioca starch is very gummy, and adding a little bit of it to gluten-free baking recipes can help replace some of the chewiness or springiness that the gluten in wheat flour adds to traditional baked goods. In other words, tapioca starch adds body to gluten-free baked goods and can cancel out the crumbliness that plagues some Paleo baked goods. In this recipe, tapioca flour added bounce to the cake, a solid structure to the top, and a subtle crispness around the edges.
NOTE: Tapioca is one of those foods that is considered both Paleo and not-Paleo, depending on who you ask. If you don’t do tapioca, you can substitute arrowroot, which is Paleo-compliant.
This cake was tested with:
- Almond + Coconut Flour: Good but dense, wet, and heavy with a graininess from the coconut flour.
- Almond + Coconut + Arrowroot Flour/Starch: Lighter and fluffier, but still a bit greasy and not much spring when the top of the cake was pressed. Better than the first option, but not quite there.
- Almond + Coconut + Tapioca Flour/Starch: The right balance of rich almond flour, moisture-absorbing coconut flour, and a noticeable increase in springiness from tapioca vs. arrowroot starch. Bullseye!
#4: Maple vs. Coconut vs. Monk Fruit Sugar
I tested the cakes using monk fruit, maple, and coconut sugar. All worked well and seemed interchangeable, so use what works best for your current needs.
Coconut sugar is a Paleo-baking staple and worked well in this recipe. The sweetness of coconut sugar is less intense than regular sugar or maple sugar, so this may be the best option if you like your desserts not too sweet.
Maple sugar was the favorite. Flavor-wise, I found the maple sugar to be superior without imparting a noticeable maple flavor. It’s also lighter in color than coconut sugar, which seems important in a recipe where color is such a key detail.

If you can’t find maple sugar at your local health food store, you can order it online or, surprisingly quickly, make your own (using maple syrup) with these instructions from culinarian David Leite.
Monk Fruit Sugar makes a delicious sugar-free version of this cake. I had never cooked with monk fruit sweetener before, but as a natural, zero-calorie sweetener, I was impressed. The flavor tasted natural, not fake or overpowering like stevia can. The sweetness was mild, so again, it was not an overly sweet result.
Monk fruit comes in several forms, but you’ll want to use granulated monk fruit sugar for this cake. I used Lakanto Classic Monk Fruit Sweetener, which is mixed with erythritol to create a 1:1 sugar substitute. Erythritol appears to be relatively safe; however, because of the way it’s digested, it can cause digestive distress like gas, bloating, and nausea. It depends on the person, and many seem to have no problem with erythritol sugars like this one, but if you find yourself gassy, bloated, or uncomfortable afterward, this sugar substitute may be to blame.
All three of these sugars can be ground in a small food processor or high-powered blender to create powdered sugar. You'll need to do this to prepare the frosting. Instructions can be found in the recipe (below).
#5: Making whipped coconut frosting can be temperamental.
Whipping coconut cream works beautifully as a dairy-free alternative... until you try to add a liquid sweetener, get it to behave like traditional cream, get it too warm, buy the wrong brand, use one with guar gum, use one without guar gum, or look at it wrong. Just kidding, kind of.
Seriously though, not to discourage you, but know that making frosting with coconut cream can be finicky. If it goes sideways, you're not alone. Keep an open mind, say your prayers, and follow the instructions carefully.
Things that can ruin a whipped coconut topping/frosting:
- Not thoroughly chilling the coconut cream/milk overnight. It also helps to chill the mixing bowl!
- Adding too much liquid (like maple syrup to sweeten, or too much of the coconut water)
- Adding anything grainy, like granulated sugar. Powdered sugars work better.
- Trying to thicken with coconut oil or coconut butter results in a gritty, grainy, runny texture.
- Using light coconut milk or a low-quality brand of coconut milk that contains too much coconut water and not enough coconut cream
- Getting a “dud” can with barely any coconut cream.
Initially, I hoped to thicken and stabilize this frosting using the method from Linda P’s recipe for the traditional ermine frosting. Also called “roux frosting,” the technique uses a method of thickening and heating milk with flour to make a paste and then whipping that paste into butter and sugar to produce a light and airy frosting, like Twinkie filling.
I wondered, might a similar "roux" made with arrowroot starch and coconut milk work to thicken and stabilize this dairy-free frosting? I hoped. While it did make a nice creamy paste that gelled upon chilling, sadly, it made no difference in helping to thicken the frosting. If anything, it seemed runnier.
What worked the best for me was buying a high-quality, high-fat can of organic, guar-free coconut cream from Let’s Do Organic. Guar gum is added to most cans of coconut milk to thicken and stabilize, but it depends on the brand. The jury is out as to whether guar helps make a decent whipped cream or hinders it.

When I opened my chilled can of Let’s Do Organic Heavy Coconut Cream, it wasn’t butter-thick like my other can of Thai Kitchen Organic Coconut milk. I was concerned it wouldn’t whip up, but I was wrong! It whipped up so thick that, for a minute, it became crumbly. I followed the recommendation on the can to add in a little bit of the coconut liquid/water, and voila! Whippy, fluffy, thick, pipable coconut frosting. Even adding the sweetener, lemon juice, and a spoonful of cream cheese (optional) did not phase this batch of coconut fluff.
The Thai Kitchen brand whips up just fine. Because it's available at Costco, it's what I usually have on hand, and I’ve used it plenty of times for coconut whipped cream. It has a lovely light texture, but I have never gotten it as stiff as the Let’s Do Organic Coconut Cream. If making frosting, I would go out of my way to purchase this again. Thumbs up!
If you cannot replicate a thick frosting-like result, as can happen with coconut cream, simply enjoy a slice of this cake topped with a dollop of whatever you’ve ended up with (probably more of a whipped cream). Either way, you will need to keep the frosting and the frosted cake refrigerated until ready to eat to prevent melting or enjoy it immediately upon frosting.
If you want a thicker, dairy-free frosting that’s more like buttercream, check out this recipe from Minimalist Baker, which uses cashews. This was not an option for me since my son is allergic to cashews.
Feb 2024 Frosting Update! There's a delicious new(ish) dairy-free whipped topping option that could be used as an alternative to the frosting in this recipe. It's CocoWhip by So Delicious and can be found in the freezer aisle next to the CoolWhip. Check out the ingredients to see if they suit your dietary needs. I haven't experimented with it on this cake yet, but next time I make it, I will!
There you have it! All my best tips, product recommendations, lessons learned, and in the end, a darn fine Paleo Red Velvet Cake that will knock your socks off. Hope you find an excuse to make it soon!
Wishing you the best of health,

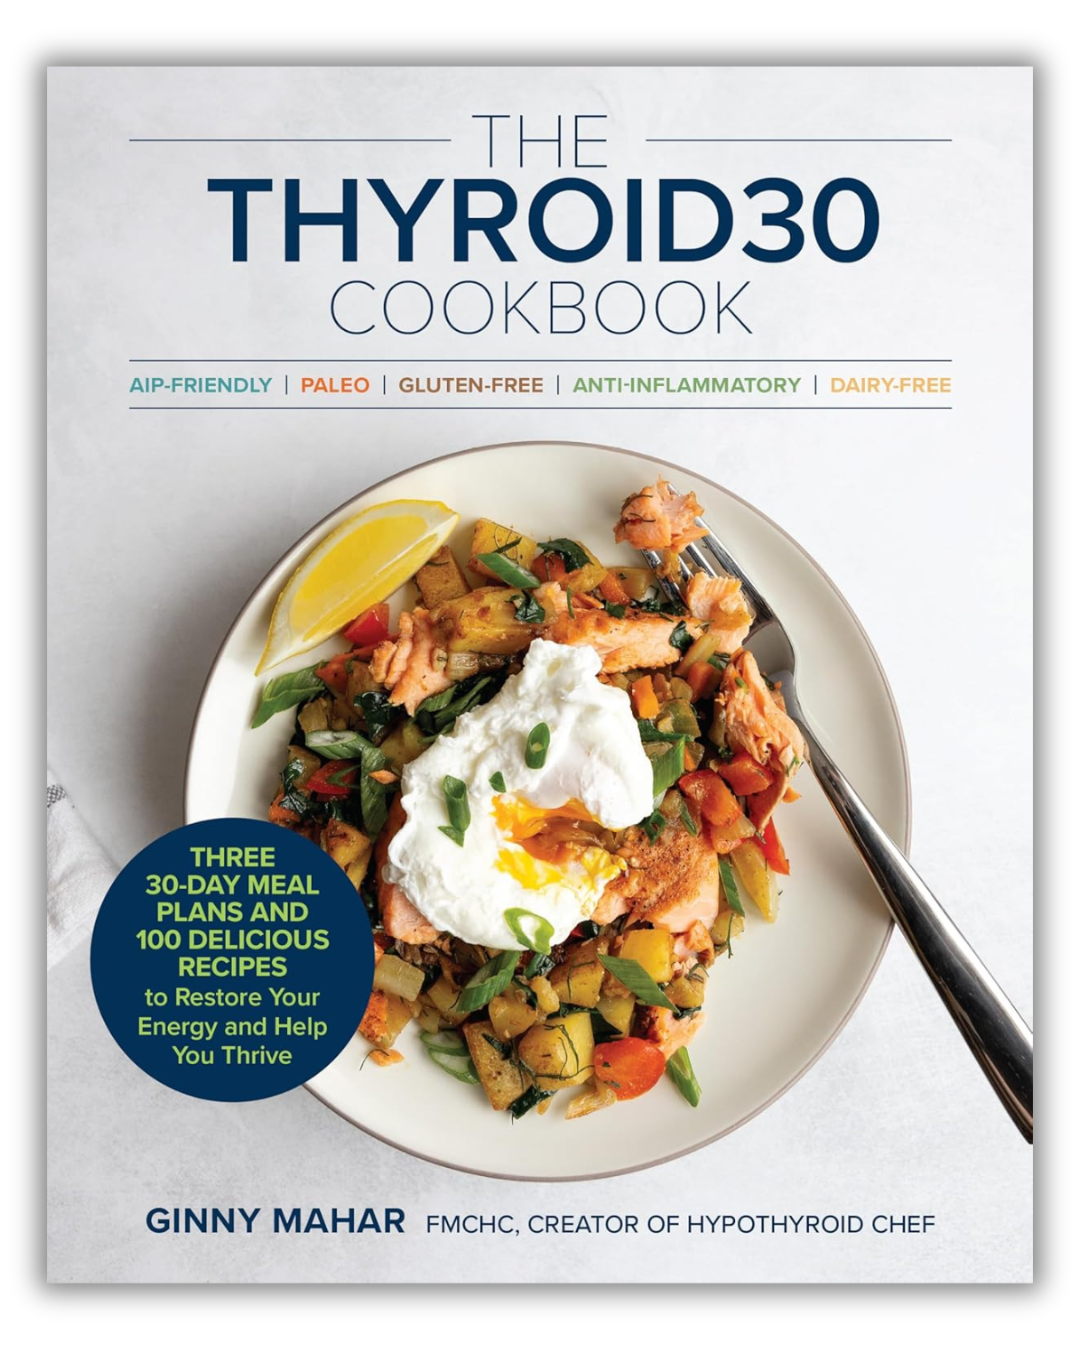
P.S. Need more thyroid-friendly recipe inspiration? I’ve got you covered. My Thyroid-friendly Everyday eCookbook features over 50 quick and easy, thyroid-friendly recipes your whole family will love. To take a peek at what’s inside, CLICK HERE.

More Thyroid-healthy Sweets Recipes:
- Buckwheat Chocolate Chip Cookies
- Raspberry Cream Gels
- "Caramel" Nut Chocolate Bark
- Blueberries & Lemon Cream
- Pecan Date Dreams
- Chocolate Chip Cookie Dough Bliss Balls
- Anti-inflammatory Tart Cherry Gels
Subscribe to my free newsletter for fresh recipes & lifestyle tips, delivered weekly, and receive a free gift!
By submitting this form, you agree to receive ongoing updates from Hypothyroid Chef