Lemon Dill Chicken
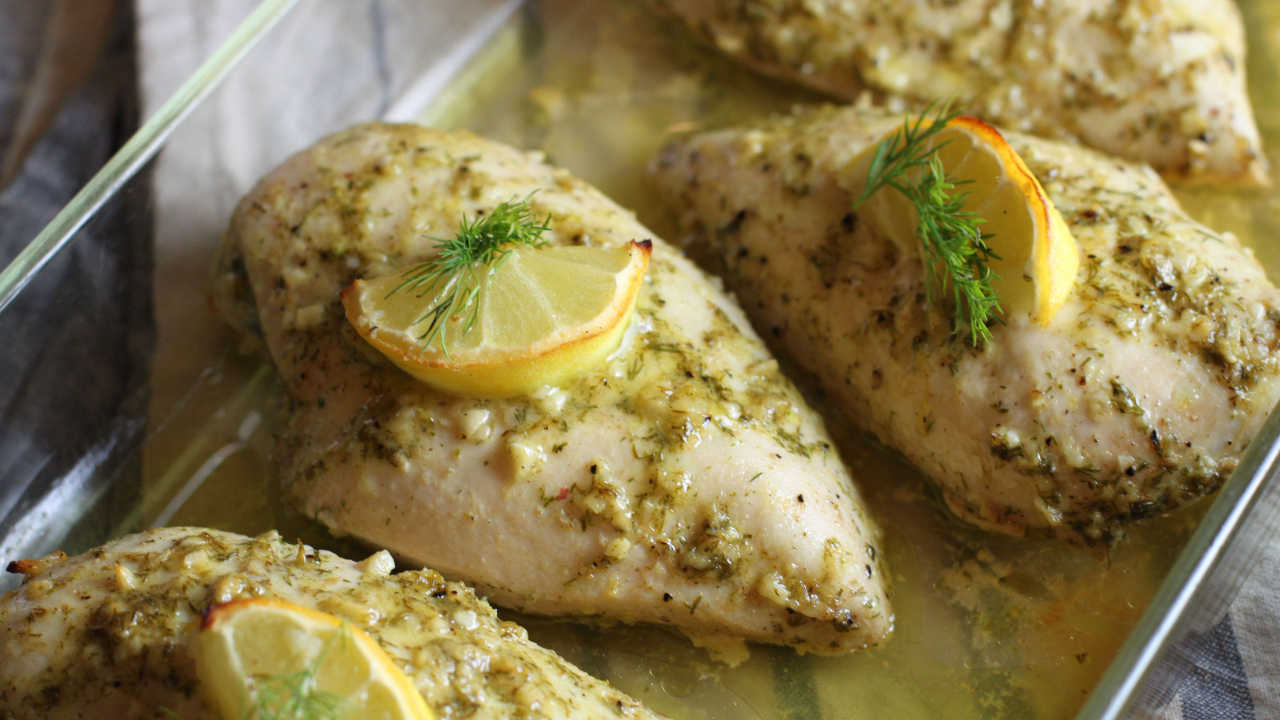
This quick and easy Lemon Dill Chicken is light, lovely, and oh-so-versatile. Boneless, skinless chicken breasts take a flavor bath in lots of garlic, lemon, olive oil, fresh dill, and just a touch of coriander to keep it interesting. To keep it extra simple, you can even mix, marinate, and bake the chicken breasts all in the same pan.
What I love about this staple dish is that there are so many ways to work it. It works in the oven, it works on the stovetop, or, my personal favorite, it works on the grill. The recipe in this post and the accompanying YouTube video uses breasts that are baked in the oven, but you could also substitute bone-in chicken breasts or whatever cut of chicken you prefer or have on hand. Cook it up however you like and then use it however you like! I've included instructions for other cooking methods and many serving suggestions below.
This Lemon Dill Chicken happens to be gluten-free, dairy-free, Paleo, AIP, and Low-carb. It's so very versatile, even in terms of dietary restrictions.
Full disclosure: Some of the links in this post may be affiliate links. As an Amazon Associate, I earn from qualifying purchases. Purchasing a product using one of these links will support my work at no additional cost to you. Please know that I only recommend products I wholeheartedly stand by.
13 Ways to Serve this Lemon Dill Chicken
This classic combo of fresh lemon, fresh dill, and plenty of garlic makes a winner chicken dinner, but once it's cooked up, there are endless ways to enjoy it.
-
Serve it as a main dish with your favorite sides
-
Cube it before marinating and skewer it for the grill
-
Butterfly the breasts for thin, quick-cooking cutlets
-
Sear it stovetop with the marinade for a quick weeknight win
-
Slice and top your favorite salad
-
Add to a grain bowl with quinoa, veggies, and chickpeas
-
Wrap in romaine or collard greens
-
Freeze a batch for easy future meals
-
Shred and toss with pan juices for juicy, flavorful bites
-
Tuck into a gluten-free tortilla with avocado
-
Serve over cauliflower rice with steamed veggies
-
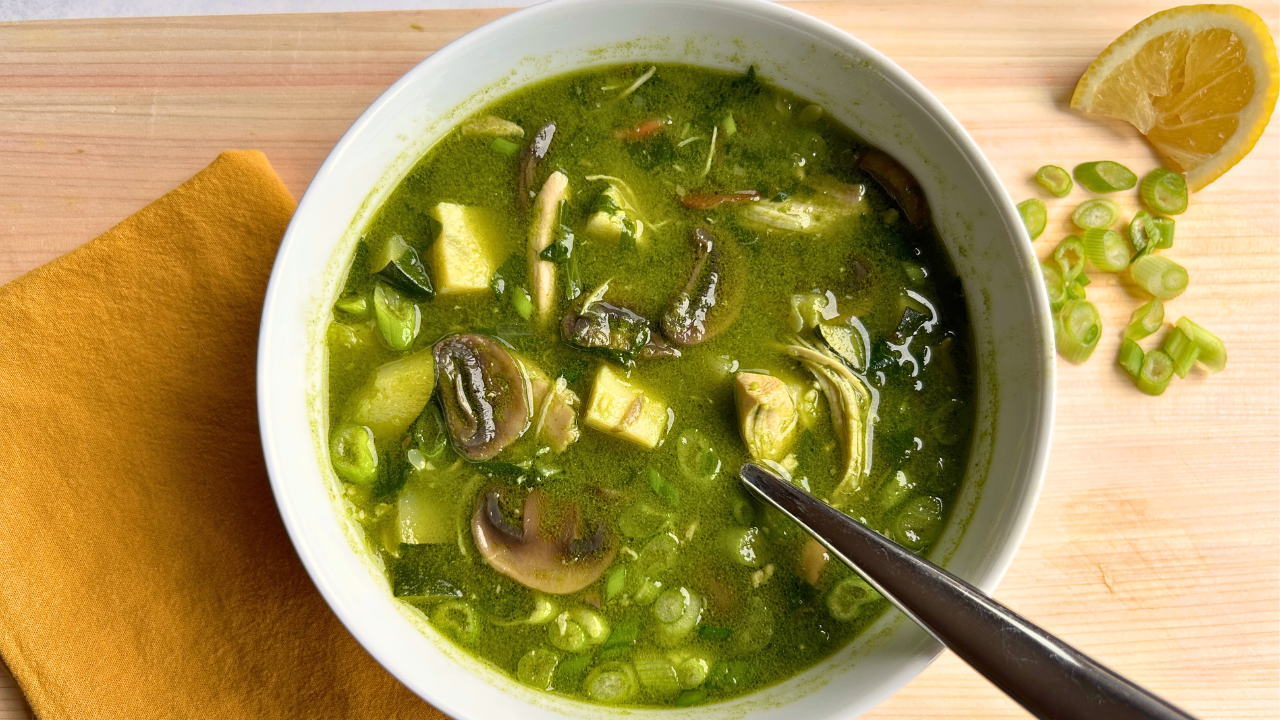
Dice into chicken and veggie soup
- I created this recipe to pair with this Quinoa Tabbouleh, a bright and herbaceous combo for spring and summer meals. Of all the ways to use it, that pairing is definitely my number one fave.
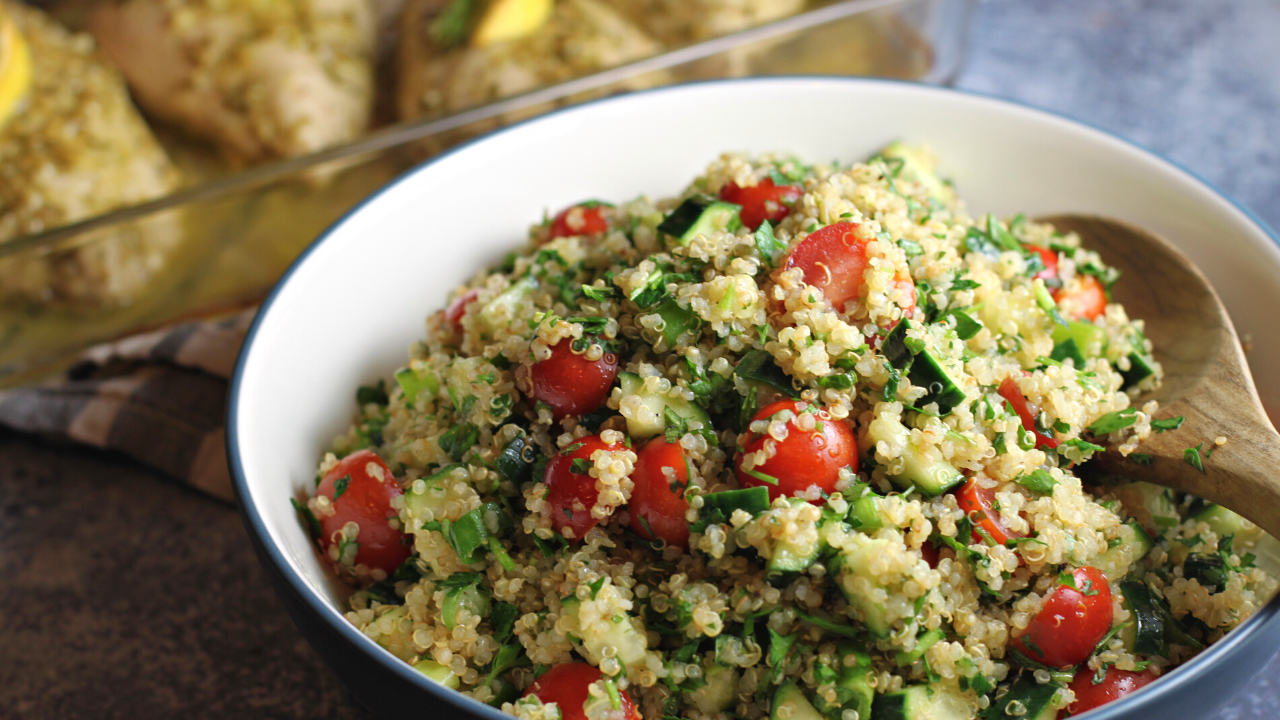
This recipe was made to pair with this delicious Quinoa Tabbouleh.
3 Ways to Cook This Lemon Dill Chicken
In addition to the many ways to use this Lemon Dill Chicken, there are also many ways to cook it! That’s what makes this recipe so versatile. If it's too hot to fire up the oven, grill it! If the weather cancels your grilling plans, sear it in a skillet on the stovetop.
Here are the basic instructions for each cooking method:
- Grilling: The grill adds a wonderful smoky flavor and crispy bits to contrast the bright, fresh flavors of this Lemon Dill Chicken. There are a couple of ways you can cook this on the grill. Cut the chicken into 1-inch cubes before marinating, and then skewer them with veggies like onion, mushrooms, or zucchini. Alternately, you can butterfly the breasts, cutting each breast into two thinner cutlets before marinating. These cutlets maximize the marinade-to-surface area of the chicken and, therefore, the flavor. They also cook up quickly and can be sliced into bite-sized pieces to top your salad, bowl, or wrap.
-
Cube for skewers or butterfly for cutlets
-
Great smoky flavor and crisp edges
-
Fast cooking and easy slicing
-
- Stovetop: For the stovetop method, I recommend leaving the breasts whole to avoid overcrowding the pan. This will help ensure a nice golden brown crust on the outside and juicy chicken breast meat on the inside. Use a wide, heavy-bottomed skillet, and preheat it over medium-high heat before adding the chicken breasts. Let them sizzle, undisturbed, until they are a rich golden brown on the bottom before flipping and repeating on the other side. If the bottom of the pan (or the chicken) is getting too dark, reduce the heat. After both sides of the chicken are nicely browned, you can deglaze the pan with chicken broth or white wine to create a delicious pan sauce to drizzle on top.
-
Use a wide skillet and sear breasts until golden brown
-
Deglaze with broth or white wine for a flavorful pan sauce
-
Tip: Don’t overcrowd the pan!
-
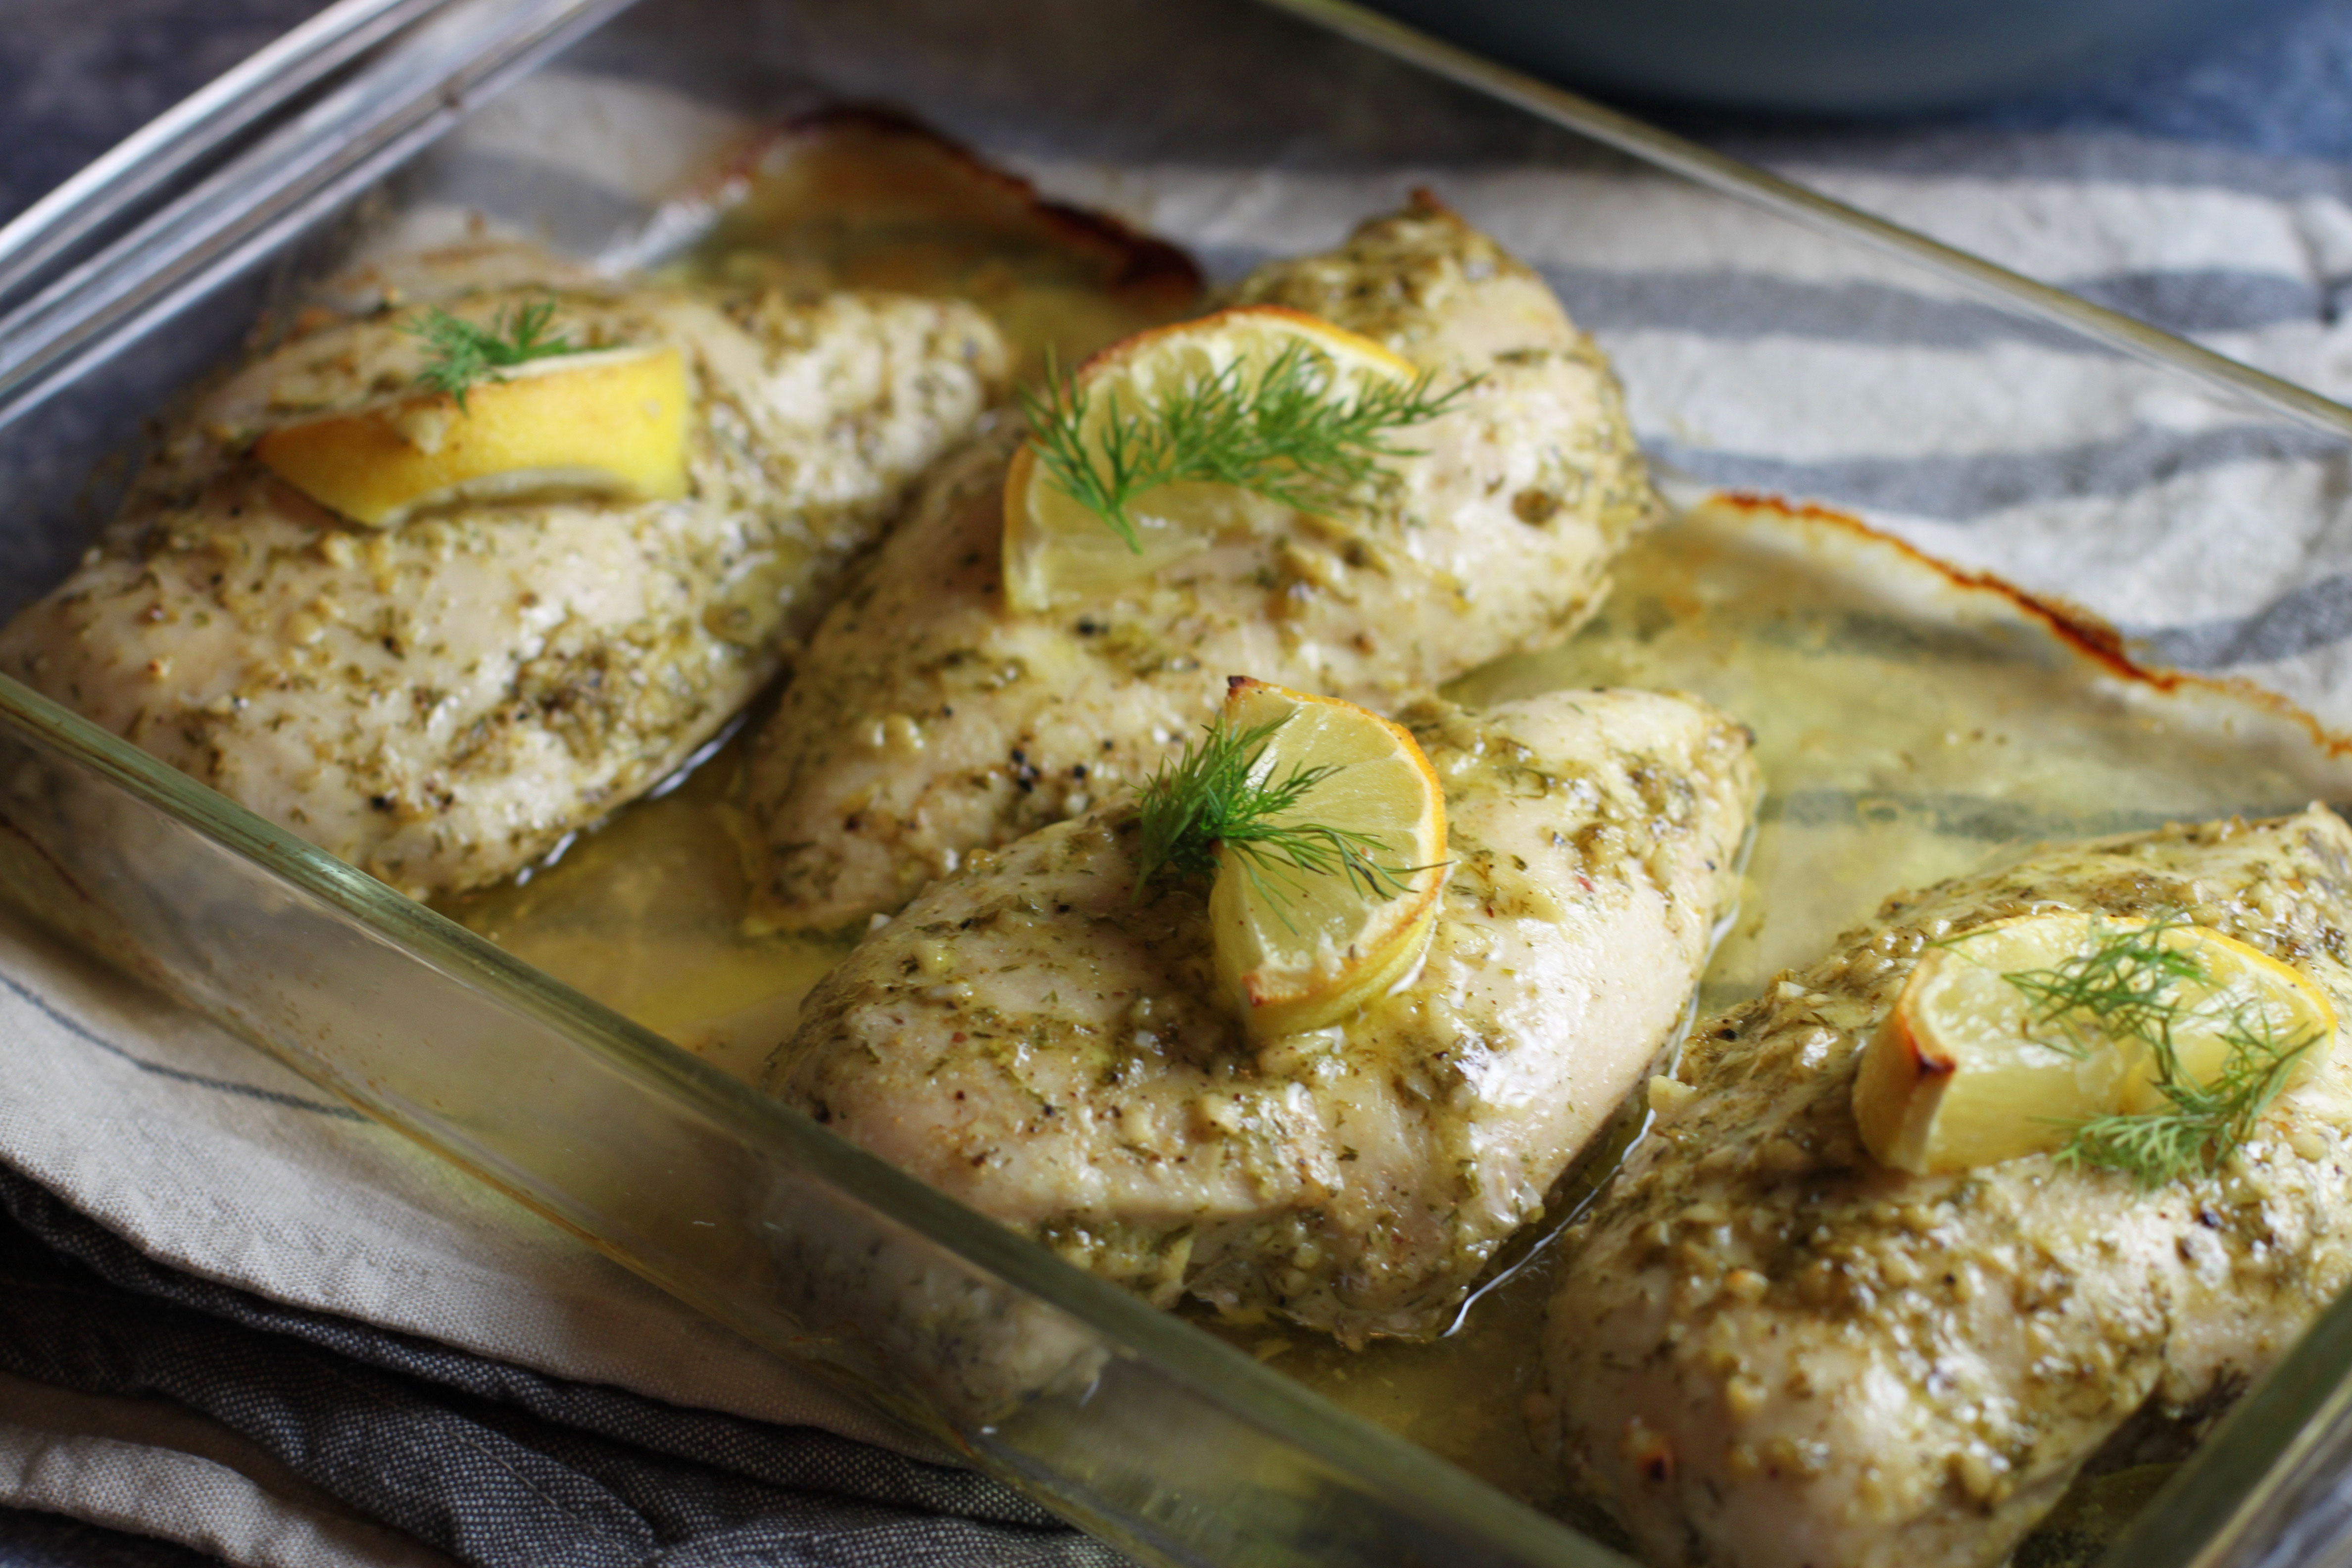
- Oven: This is the cooking method outlined in the recipe below. In colder months, the oven is a great option for this Lemon Dill Chicken because you can marinate and bake the chicken in the same dish while also warming up the kitchen. When oven-baking this Lemon Dill Chicken, I like to top each breast with a slice of lemon, which caramelizes just a little during cooking and tastes divine when the warm juice is squeezed atop the chicken. Simply pop the chicken into a 425 F oven for about 25 minutes or until the internal temperature of the biggest breast reaches 160 F. Let it rest for at least 5 minutes once pulled from the oven to allow the chicken to finish cooking and also to help retain those succulent juices. Those juices are one of the best parts about the oven method of cooking this chicken, as they collect in the pan and are divine drizzled over the chicken and whatever starchy sides or steamed veggies you decide to serve it with.
-
Easiest method (and great for colder months)
-
Add a lemon slice on top of each breast
-
Bake at 425°F for 25 minutes or until the thickest part reaches 160°F
-
Rest 5 minutes before serving for juicy results
-

The Secret to Perfectly Cooked Chicken Breasts
Unlike steaks or certain types of fish, chicken needs to be fully cooked to consume it safely. But here's the catch: Overcooked chicken is dry, especially white meat chicken with no bone or connective tissue to add back to the meat what cooking takes out of it. The key to perfectly cooked, moist, and juicy chicken breasts is to cook them to the exact degree of doneness required, not more, not less. That perfect degree of doneness is where the meat is cooked all the way through but still moist and juicy inside.
Well, how do you do that, and how do know when the chicken has reached that perfect degree of doneness? You can cut into it, but that will let all the juices seep out and ruin your presentation. You can cook it to death, but you'll end up with dreadfully dry chicken breasts. You can use the touch test, where you gauge the doneness of the meat based on how firm it is when poked (firmer means more done, and softer means more rare). The touch test is a good place to start, but it doesn't provide the accuracy required to consume chicken safely.
Okay, so what then?!
I'll tell you. The secret to perfectly cooked chicken breasts (or any other animal protein) requires a small but essential kitchen tool...
Take the internal temperature of the chicken using an instant-read thermometer. This small probe can tell you exactly how hot the chicken is in the deepest part of the breast in just a few seconds. That's why they call it an "instant read," and no kitchen is complete without one.
Here's my favorite instant-read thermometer and the one we use at home.
Another important instruction: Don't crowd the chicken breasts in your pan or baking dish. To ensure even cooking, make sure that the heat can circulate between each breast. Piling them up can lead to uneven cooking, and nobody likes rare spots in their chicken breasts. That means if you do a double-batch, you'll need a bigger baking dish.
So, first, don't crowd the chicken. Once cooked, remove the chicken breasts from the heat when the center of the thickest part of the breast registers 160 F. At this point, you want to leave the chicken in the pan or roasting dish or loosely covered with foil if grilled and let it rest for at least 5 minutes. During this residual cooking time, the internal temp of the breasts should rise to about 165 F, which is the USDA recommendation for chicken. This resting time also gives those internal juices a chance to slow down and settle into the fibers of the meat, making for wonderfully juicy and perfectly cooked chicken breasts.
-
Pull chicken at 160 F
-
Let rest 5 minutes to rise to 165 F
-
This ensures juicy meat and safe temps—no guesswork!
- Don’t crowd your pan! Give each piece room to cook evenly.
- Here's the Instant-Read Thermometer I use and love
Thyroid Healthy Recipe Highlights:
- Chicken is a very good source of selenium, which helps to regulate the production of thyroid hormone, convert T4 to T3, and protect the thyroid from stress. A 3-ounce serving of chicken also provides 84% RDI of the essential amino acid Tyrosine, which the thyroid gland combines with iodine to produce thyroid hormone.
- Garlic has many powerful healing properties, which can aid or alleviate some of the symptoms of thyroid conditions, such as inflammation, cardiovascular issues, decreased immunity, and increased infection. It can also support the liver in its detoxification efforts.
- Lemons are a very good source of vitamin C, with one ounce providing 36% DV. A study recently shared in the Journal of Clinical Endocrinology and Metabolism stated, “In patients with hypothyroidism and gastrointestinal pathology, vitamin C improves the abnormalities in serum free T4, T3, and TSH concentrations.”
- Extra Virgin Olive Oil is considered one of the world’s healthiest fats. Some of its many scientifically-proven health benefits include anti-inflammatory properties, high antioxidants, and reduced risk of cancer, Alzheimer’s, and heart disease.
Ready to Cook?
You’ll find the full printable recipe card below.
But while you’re here, don't forget to grab your free gift:
🎁 Download My Thyroid-Friendly Grocery Guide
It's packed with over 130 ingredients to make thyroid-healthy meals easier and more delicious.
Happy cooking, happy thriving, and enjoy the recipe (below)!

P.S. Want more recipes like this? I’ve got you covered. My Thyroid-friendly Everyday eCookbook features over 50 quick and easy recipes your whole family will love. To take a peek at what’s inside, CLICK HERE.

Suggested Sides & Pairings:
- Quinoa Tabbouleh
- Toasted Quinoa
- Cauliflower or Basmati Rice
- Olive Oil Mashed Cauliflower and Sweet Potatoes
- Simply Perfect Wild Rice
- Herb Roasted (or Grilled) Asparagus
- Zucchini Pappardelle with Mushrooms
- Parsnip Sage Risotto
Subscribe to my free newsletter for fresh recipes & lifestyle tips, delivered weekly, and receive a free gift!
By submitting this form, you agree to receive ongoing updates from Hypothyroid Chef